AuthorWrite something about yourself. No need to be fancy, just an overview. Archives
January 2019
Categories |
Back to Blog
 There is something so satisfying about building your own furniture for your home! Whether you peg it for a TV stand, a bookshelf or an entryway table, this DIY console table is the perfect way to add a little storage to any room in your home. We love this console table design for its farmhouse style and inexpensive supply list. Everything including the wood and hardware costs under $50. It only takes an afternoon to put together and you can find so many ways to use a piece like this in your home. Want to see how I made it? Let's get started! 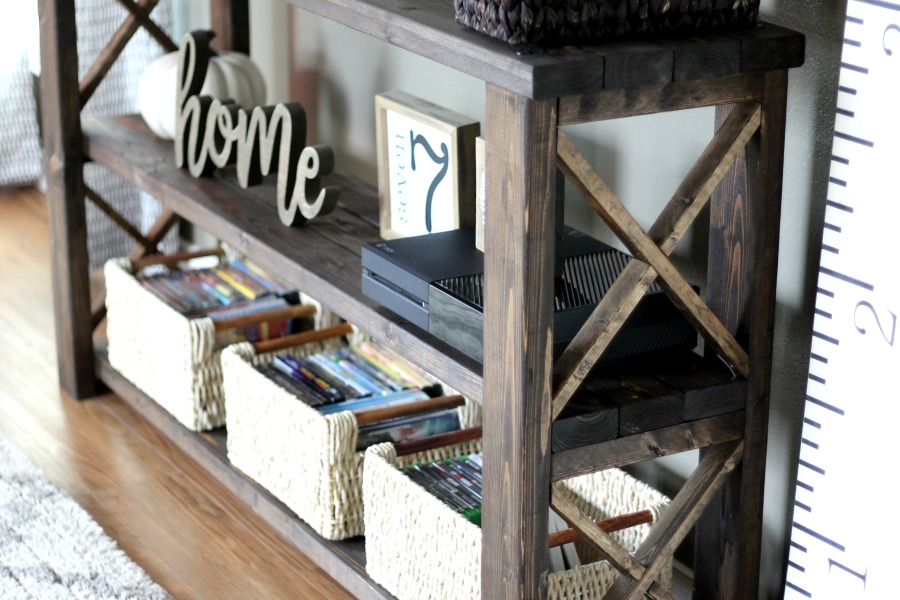 To make this console table you will need:
***Use extreme caution and common sense when using power tools. Follow all manufacturer's instructions, wear safety gear and build at your own risk.*** Step 1: Cut out your wood pieces.First, I cut out all of my console pieces. You will need four 5-foot pieces of 2×4 boards for the top. FYI: I used 1×2's as brace pieces for the console. You will need six of these 10 ½ inch long brace pieces.
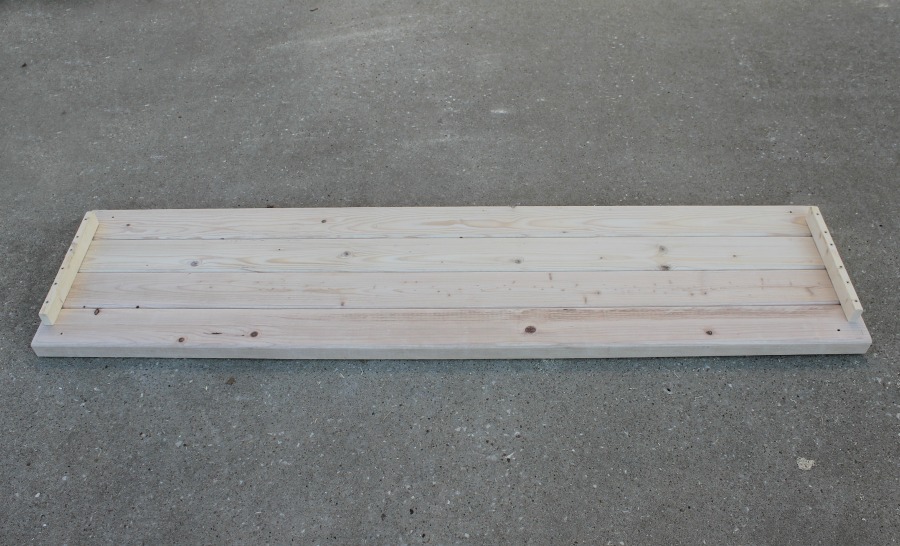
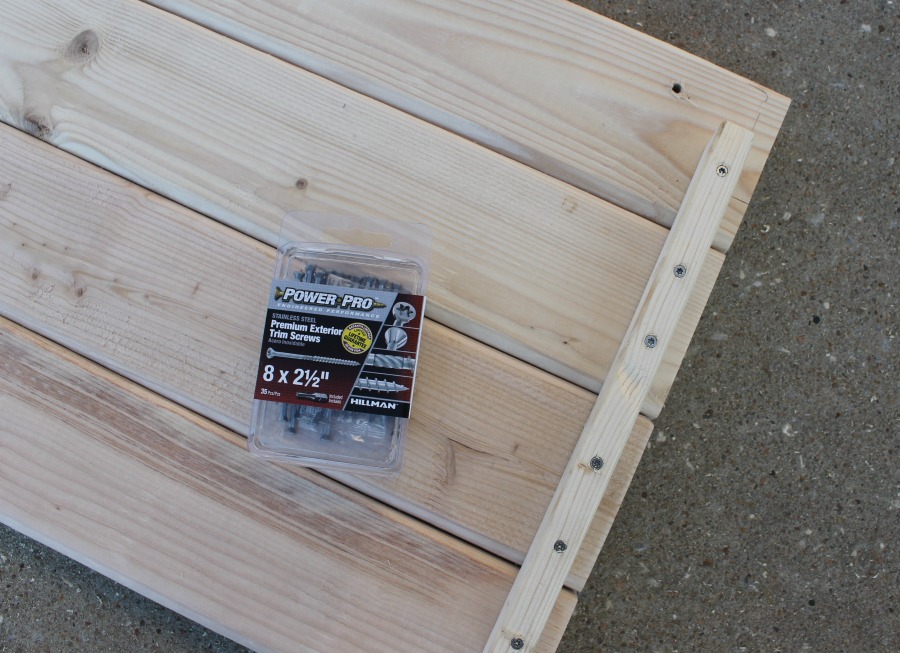
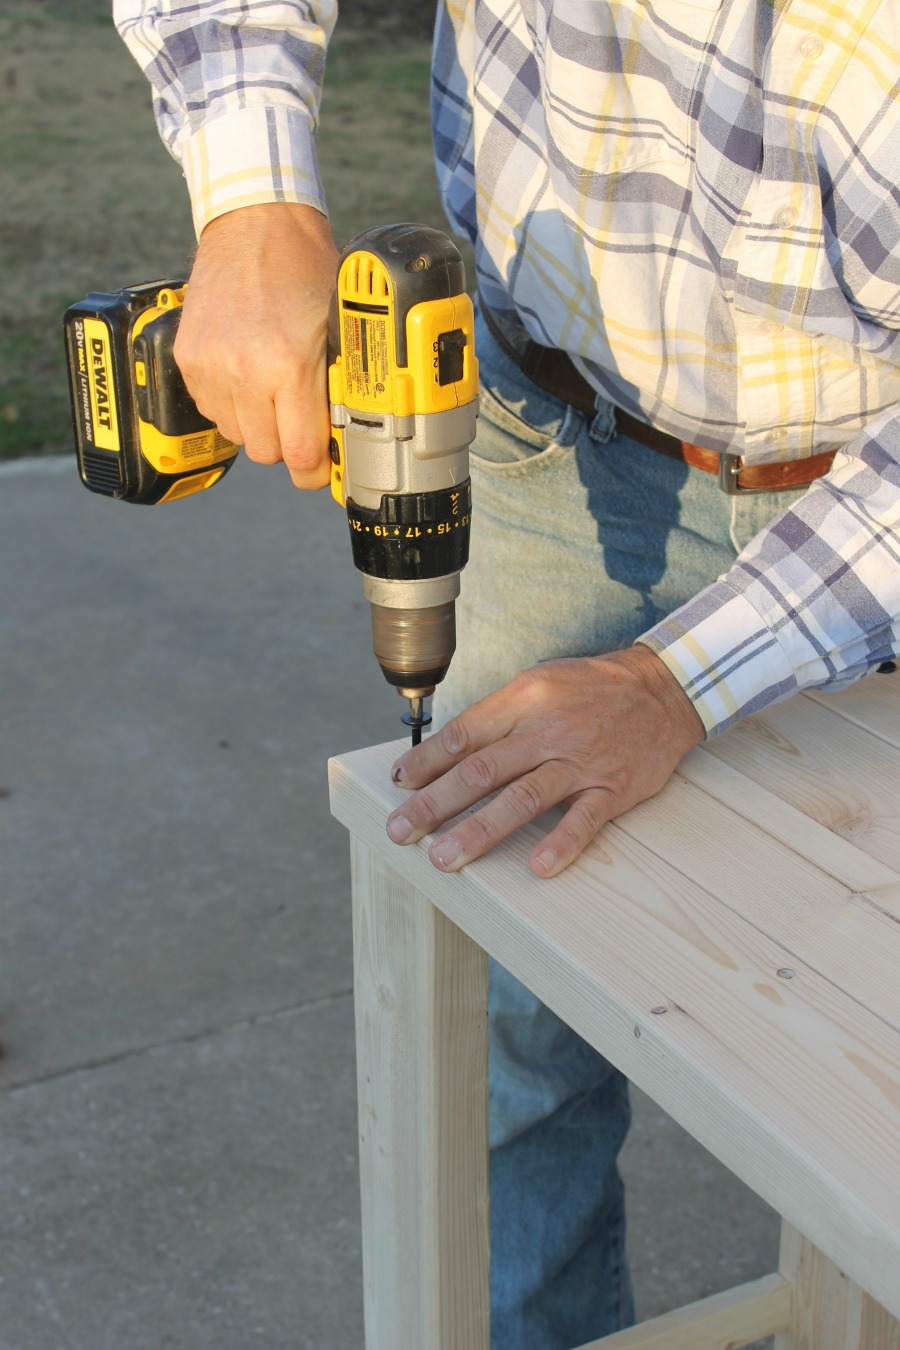
I'm kind of skipping ahead, but while my console was in pieces, I went ahead and drilled in two of my support pieces underneath the console's top. They are positioned ½ inch from the edge with 1 ¾ inches left on each side. I used 2 ½ inch premium screws to hold this in place. These screws are a little bit pricey, but with their smaller head, I think they look better and are hardly noticeable. TIP: Always drill a pilot hole before drilling the screws into the wood. This will prevent the wood from splitting.
Alright, now let's get back to the wood pieces. For the two bottom shelves, you will need three 59-inch long pieces each of 2×4 board. That is six total pieces all together.
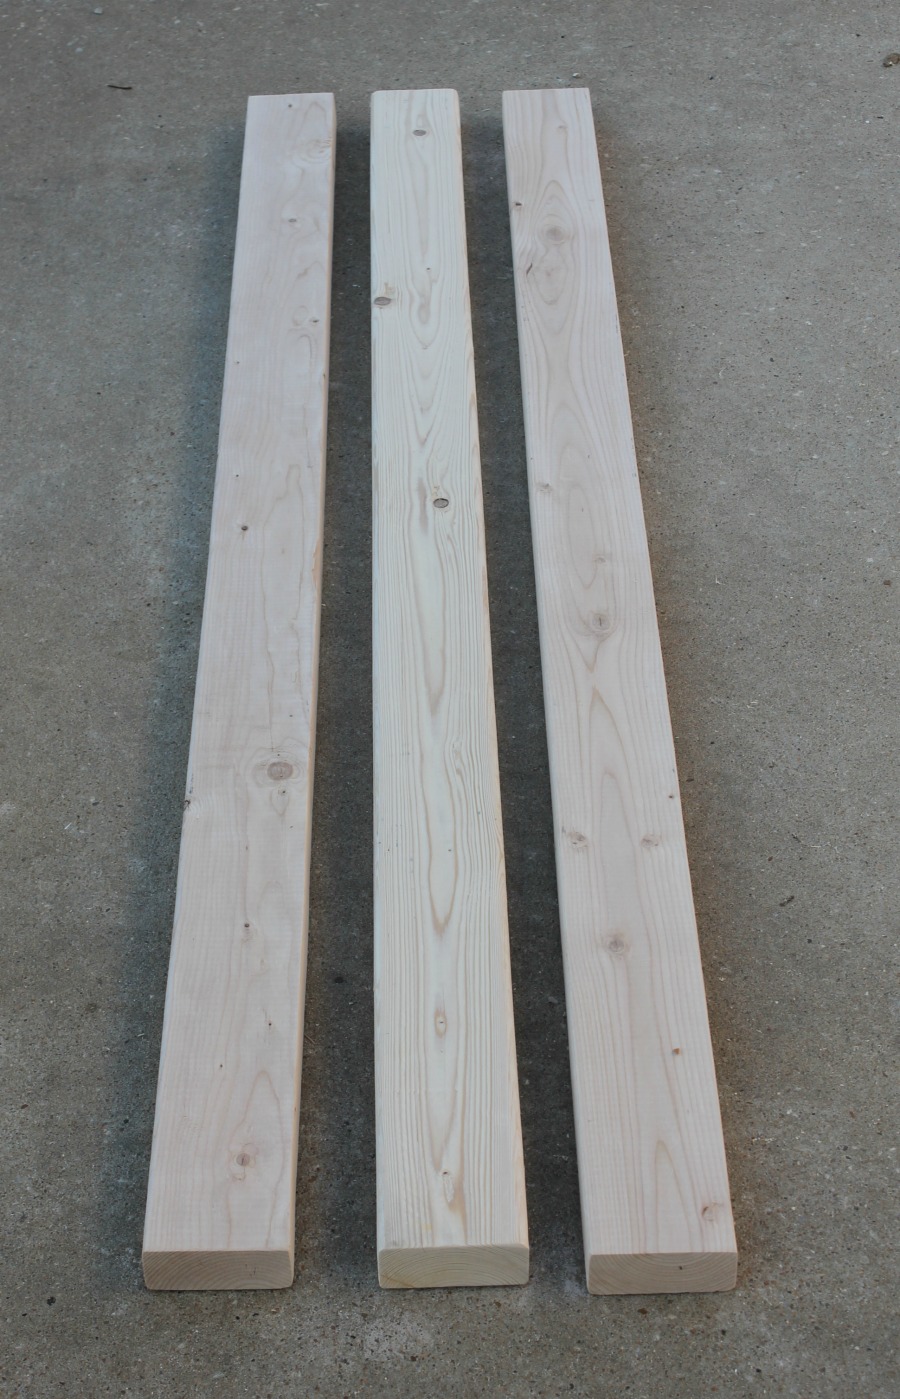
For the legs, you will need four 32 ½-inch pieces of 2x4s. Then I sanded all my pieces with a hand sander. Now, it's time for the fun part ~ assembly! Step 2: Assemble your console.
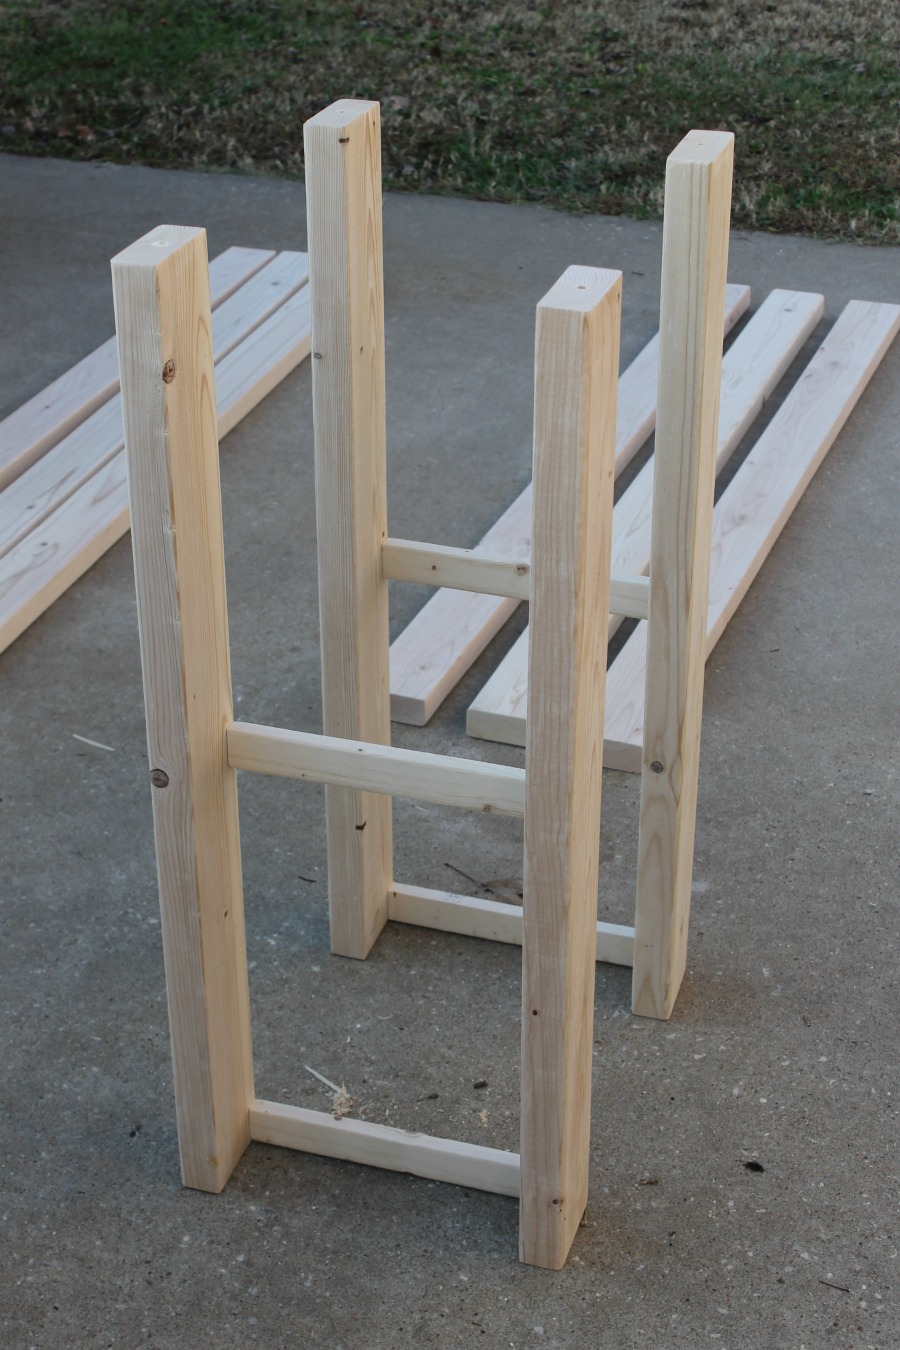
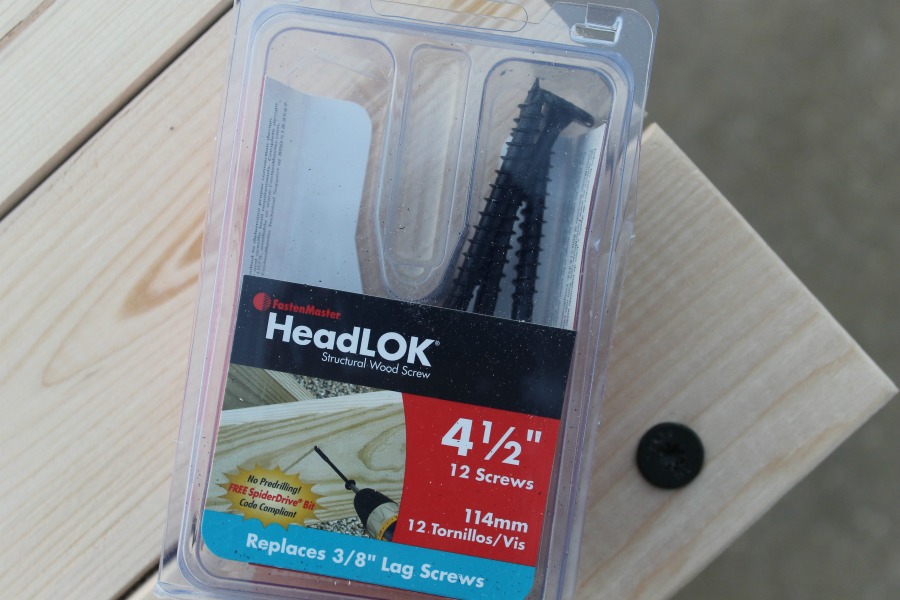
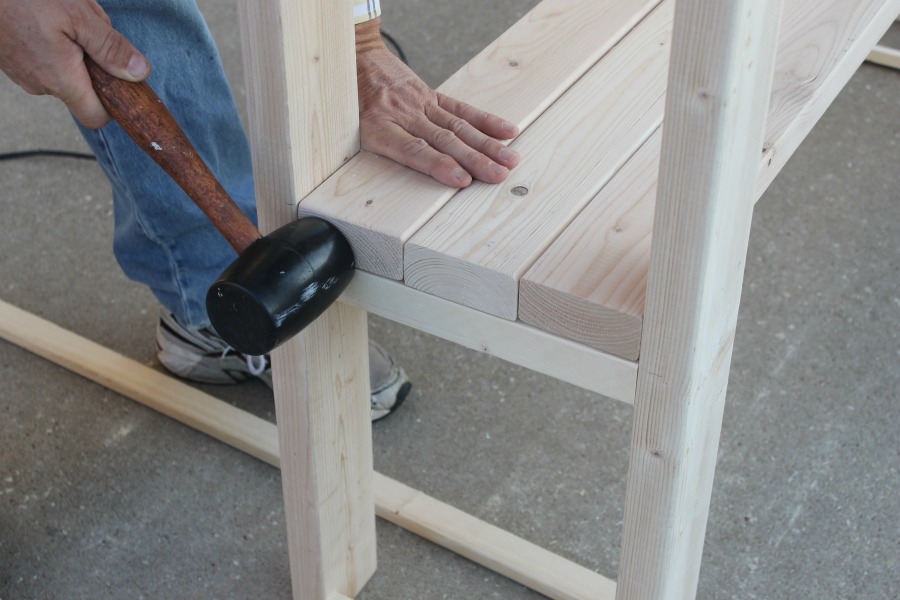
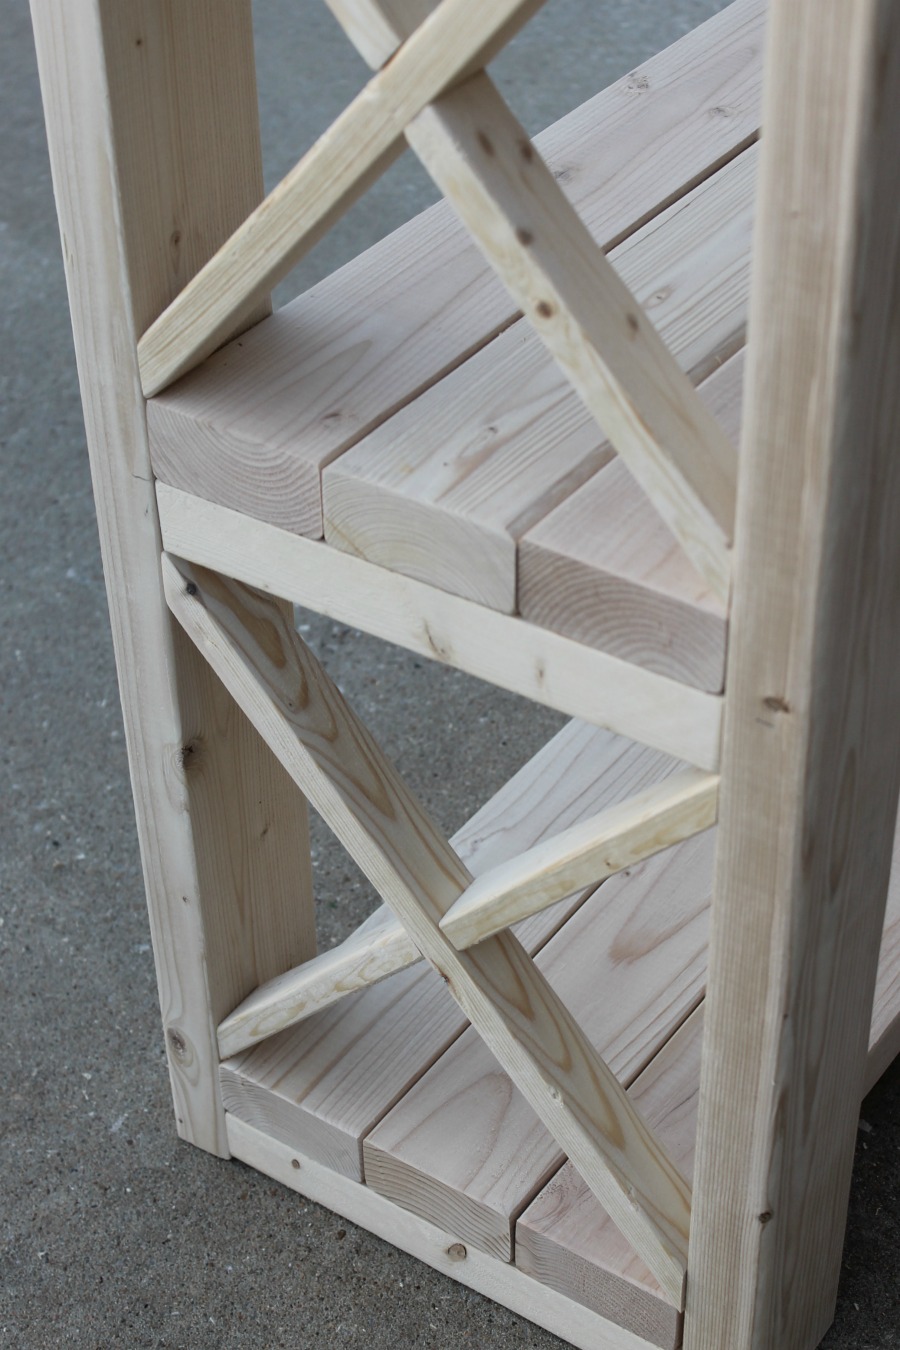
The LegsI already showed you how I assembled my table top. The legs were the second thing that we put together. The first brace piece is ⅛ of an inch from the bottom and middle brace piece is 16 inches from the bottom on each leg. To hide the screws, we screwed in the 2 ½ inch screw from the back and at an angle. Be careful not to let your screw show on the other side. Attaching the TabletopNext, we attached the table top to the legs using HeadLOK decorative screws. I have used these screws before on our farmhouse kitchen table and picnic table. They are pretty, and you won't mind them showing on your finished piece of furniture. You'll need one of these on each corner of your console table–four screws in all. Adding the ShelvesNext, we sat the first shelf into place. The fit was tight, so we used a rubber mallet to get everything in place. TIP: To keep all the boards nice and lined up, we used a clamp to hold everything in place as we drilled the boards to the brace pieces. Also, place some boards underneath your console, so the tabletop doesn't get scratched.
And don't forget to drill your pilot holes before screwing these boards together too!
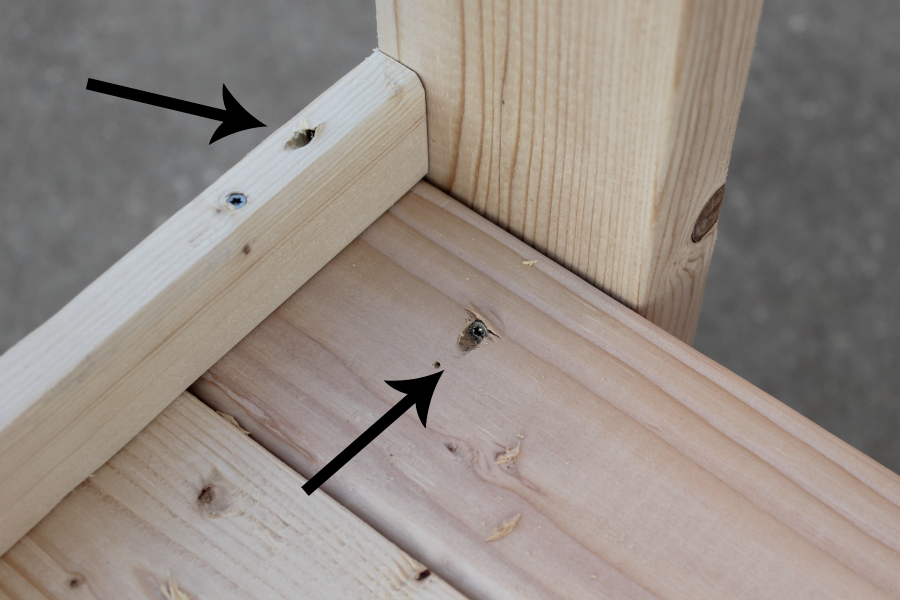
Decorative BracesThe last thing we did was add two Xs on each side of our console. This really makes the project. I love the Xs! These were custom cut for each spot using 1×2 boards and 50° on each end. To attach them we used a nail gun, brad nails and a little bit of wood glue in between each piece. Here is the finished console. Wasn't that easy? Sand it one more time, if needed. Step 3: Stain your console.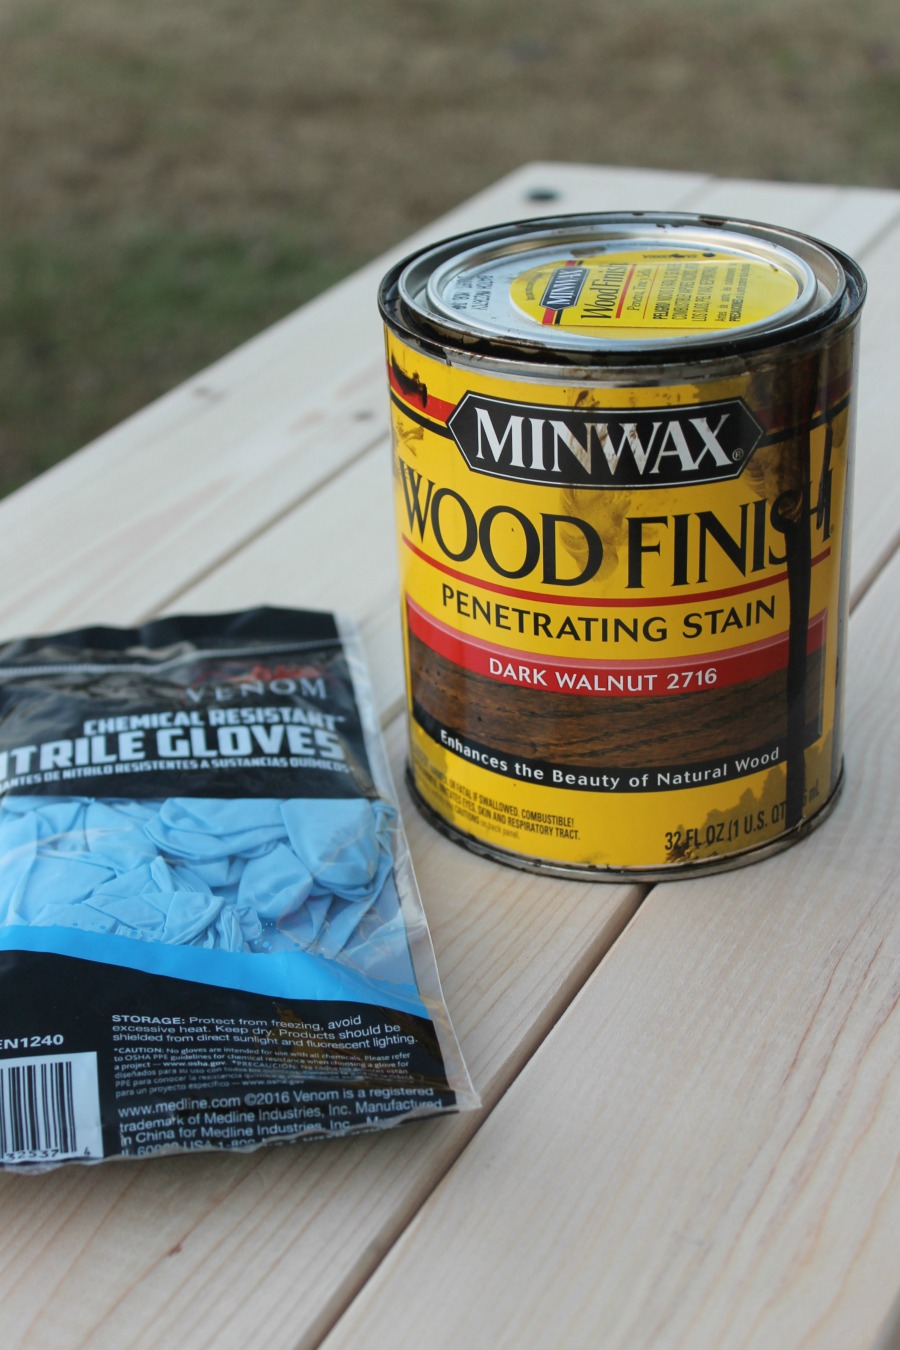 When you stain your console, it will take it to the next level! It's amazing what a little bit of stain can do to wood furniture. Even furniture that is made with 2x4s! I used my go-to stain color: dark walnut. TIP: Always use rubber gloves when staining. I also use an old rag and work the stain into the wood and then wipe off any excess stain with a clean rag. Let that dry for 24 hours. Step 4: Style your console!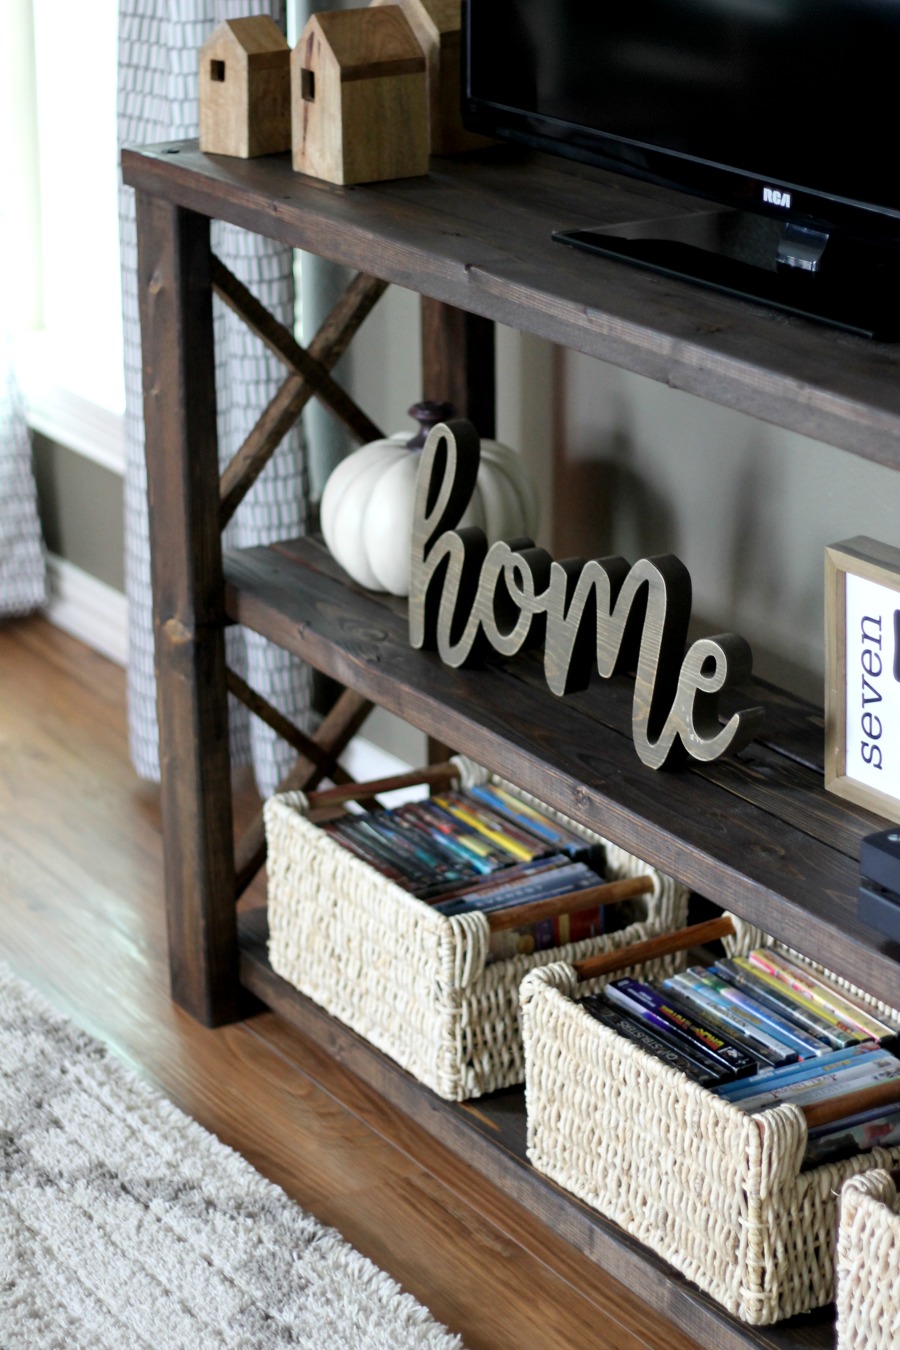 You can use this console to add storage to so many spots in your home. In our house, we use it to hold our TV in the family room. We store DVDs and other living room clutter on the bottom shelf in storage baskets. This DIY console table could also be used in an entryway, as a sofa table or as a bookshelf. I love versatile furniture pieces that you can use them all over your home. I'm constantly changing the furniture around our home, and since I stuck to the same style as my other DIY pieces (like this blanket ladder and this DIY bookshelf), my console will fit right in wherever it ends up.     I hope you tackle this project for your home. Let me know if you do! Feel free to let me know if you have any questions below. Don't forget to pin this project for later.
0 Comments
Leave a Reply. |
 RSS Feed